When I started planning to upgrade my floors, I found that installing vinyl flooring is both a budget-friendly and stylish option. Whether it’s vinyl planks, luxury vinyl, or sheet vinyl flooring, this type of flooring offers durability and an appealing look without the high cost of hardwood. Plus, with some basic tools and a bit of patience, you can install it yourself and give your space a fresh, new look.
Before jumping into the installation, it’s crucial to prepare the subfloor properly. A smooth and level surface ensures the vinyl flooring will lay perfectly, avoiding future bumps or gaps. Understanding the different types of vinyl flooring, such as luxury vinyl or vinyl sheet flooring, can help you choose the best fit for your room’s needs and aesthetics.
I’ve learned that choosing the right installation method, whether glue-down or floating, is equally important. Each method has its own benefits, and selecting the right approach can make the installation process smoother. With a bit of care and attention, you can achieve a professional-looking finish that you’ll be proud of every time you step into the room.
Key Takeaways
- Prepare the subfloor for smooth application.
- Choose the vinyl type that best fits the room’s needs.
- Select the appropriate installation method for best results.
Preparing the Subfloor
Proper subfloor preparation is essential for a successful vinyl flooring installation. I’ll walk you through inspecting the subfloor and then cleaning and leveling it. These steps ensure a smooth surface and help prevent future issues.
Inspecting the Subfloor
I start by examining the subfloor closely for any damage, moisture, or uneven areas. It’s important to check for cracks, holes, or loose sections that might need repair. If I find any problems, I’ll fix them to ensure stability.
I also decide if a vapor barrier is necessary, especially if I’m working on a concrete subfloor. This helps protect against moisture, preventing possible damage over time. For wooden subfloors, I make sure they are dry and sturdy. Following installation instructions is key here, as each material might need specific attention.
Cleaning and Leveling
To begin, I remove old flooring, carpet, and baseboards. It’s crucial to clean up any debris, adhesive, or nails that could affect the vinyl. Once it’s clear, I clean the surface thoroughly to get rid of dust and dirt. A vacuum or a damp mop works well for this.
Next, I check if the subfloor is level. Any high spots are sanded down, while low areas might need a self-leveling compound. This ensures a smooth, even surface for the vinyl planks or sheets. By doing this, I create a perfect base that supports a long-lasting vinyl floor installation.
Vinyl Flooring Options
When considering vinyl flooring options, I find it crucial to understand the different types available and how they stack up against other flooring materials. Here’s what I’ve learned about these choices.
Types of Vinyl Flooring
Vinyl flooring comes in several forms, each with unique features. Luxury Vinyl Planks (LVP) mimic the look of hardwood or stone using detailed textures and patterns. They are waterproof and great for areas prone to moisture.
Sheet Vinyl, sold in large rolls, offers a seamless appearance over large spaces. It’s cost-effective and ideal for bathrooms or kitchens because it resists water well. Vinyl Tiles are like luxury vinyl but are shaped in square tiles, allowing for creative patterns. They are easy to replace individually if damaged. Luxury Vinyl Tile (LVT) offers a high-end look and feels like ceramic or stone without the cold surface.
Choosing between these depends on aesthetic preferences, budget, and specific room needs.
Comparing Vinyl to Other Flooring
Vinyl flooring offers distinct advantages over options like hardwood and tile. It’s known for durability and water resistance, making it perfect for basements, kitchens, and bathrooms. Unlike hardwood, vinyl doesn’t scratch or dent easily, providing a low-maintenance option for families with kids or pets.
Cost is another factor. Vinyl is often less expensive compared to hardwood or stone, making it accessible for tight budgets. While vinyl doesn’t offer the prestige of natural wood or stone, the quality of modern luxury vinyl can closely mimic these materials, offering a stylish look without the high price tag.
In my assessment, vinyl is an excellent choice for those seeking durability and aesthetics at a reasonable cost.
Installation Process
When installing vinyl flooring, it is essential to follow specific steps to ensure a smooth, lasting finish. This involves preparing the surface, laying the planks correctly, and managing expansion gaps and edges carefully.
Step-by-Step Installation
First, I remove any existing flooring to ensure a clean work area. I check the subfloor to make sure it is dry, clean, and level. If there are high spots, I sand them down, and if there are low spots, I fill them in to prevent any issues with the floor later.
Next, I lay the first vinyl plank, keeping it spaced appropriately from the wall. I use spacers to maintain a consistent gap for expansion. Holding the second plank at a slight angle, I insert its tongue edge into the groove of the first. I tap it gently to snap the pieces together snugly.
For sheet vinyl flooring, I use a modified loose lay method where the vinyl sheet is laid down without adhesive, except at the edges. This ensures the floor can expand and contract without buckling.
Handling Expansion Gaps and Edges
An expansion gap is crucial because it lets the flooring expand and contract with temperature changes. I maintain a gap, usually about 1/4 inch, around the perimeter of the room. This is essential for preventing buckling or warping of the floor over time.
To finish the edges, I replace the baseboards or use a quarter-round molding to cover the gap. This gives a neat appearance to the installed flooring while allowing for expansion. Proper edging helps maintain the overall integrity of the vinyl flooring installation.
By following these steps, I ensure a professional and durable finish. The result is a seamless vinyl floor that enhances the space both functionally and aesthetically.
Post-Installation Tips
Once I’ve finished installing vinyl flooring, there are some important steps to take.
First, I must avoid heavy foot traffic for at least 24 hours. This allows the adhesive to set properly and ensures a secure bond.
I should check for any gaps between the boards or tiles. It’s easy to fill these with a matching sealant.
Cleaning is crucial after installation. I sweep or vacuum without a beater bar to remove debris. A damp mop will help maintain the finish. I avoid excessive water as it can seep into cracks.
Furniture placement requires care. I use felt pads under furniture legs to prevent scratches. Moving heavy items involves lifting rather than dragging to protect my new floor.
Pay attention to room temperature and humidity. Keeping the environment stable helps minimize expansion and contraction of the vinyl.
If any repairs are needed, knowing the type and style of the flooring is helpful. I keep spare planks for this purpose.
Finally, I recommend reading warranty details. Understanding the coverage allows me to take full advantage of the product’s benefits.
Following these post-installation tips helps me enjoy a beautiful and durable vinyl flooring experience.
Frequently Asked Questions
I often get questions about installing vinyl flooring. Here are some key points on steps, directions, and techniques to make the process easier.
What are the steps for installing vinyl sheet flooring?
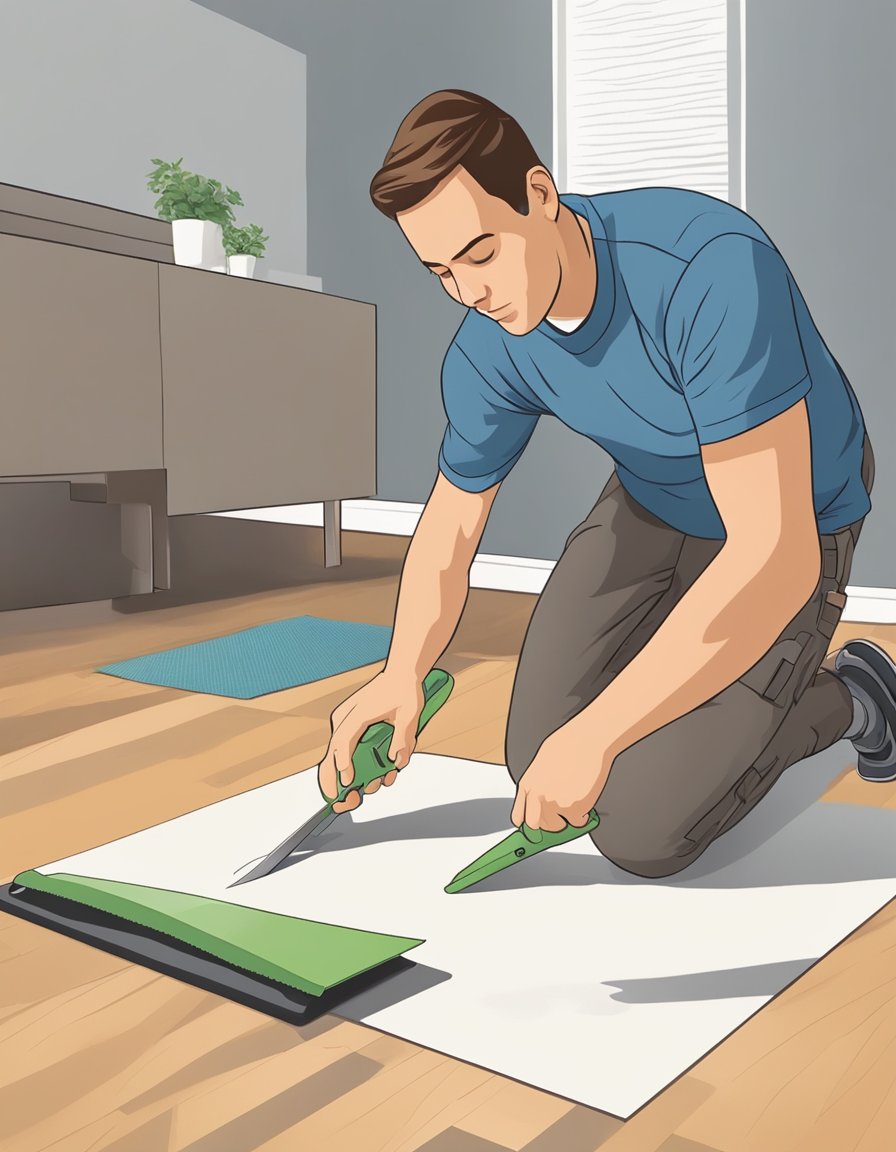
First, I clean the subfloor thoroughly. Next, I measure and cut the vinyl sheet to fit the room. After laying it out, I trim excess material and use a roller to remove bubbles. Finally, I secure edges with adhesive or tape.
How do you properly install vinyl plank flooring to avoid common mistakes?
I make sure the subfloor is clean and level. Then, I leave the planks to acclimate to the room’s temperature for at least 48 hours. I start laying planks in a methodical pattern and use spacers for expansion gaps. This keeps the flooring stable and aligned.
What is the correct direction to lay vinyl plank flooring?
I usually lay vinyl planks parallel to the longest wall. This alignment helps make the room look longer and more aesthetically pleasing. It also reduces visible seams.
What techniques are used for installing vinyl flooring in a bathroom?
I focus on sealing edges with waterproof caulk, especially around sinks and bathtubs. I also ensure the subfloor is completely dry before installation. Vinyl sheets with few seams work best in wet areas.
Can vinyl floor tiles be installed without adhesive, and if not, how should the adhesive be applied?
While some vinyl tiles are self-adhesive, I generally use a proper adhesive for a secure fit. I apply a thin, even layer of adhesive to the subfloor, then firmly press each tile into place.
What are the basic instructions for beginners installing vinyl flooring?
I start by reading the instructions that come with the materials. Beginners should ensure that their tools are ready, measure their rooms accurately, and take their time cutting materials. Practice patience and check alignment as you go.